Can I Install a 3-Zone Mini Split Alone or Do I Need Help?
If you're diving into the world of mini splits to heat and cool multiple rooms efficiently, you've probably come across 3-zone mini split systems from mini split noise dB(A) brands like Zone Air, MRCOOL, and Pioneer. These units promise flexible comfort with independent control for up to three rooms, but the big question is: Can you install a 3-zone mini split system alone, or is this a two-person job?
Having installed numerous heat pumps and ductless mini splits over a dozen years before switching gears to renovation writing, here's my take on the realities of a 3-zone mini split install. I'll cover what “true DIY” means nowadays, how to size the system per room, the electrical considerations you can’t ignore, and the physical demands of installing heavy outdoor units and multiple indoor heads safely.
What Does “True DIY” Really Mean?
The term “DIY” gets thrown around a lot online, but in HVAC terms it can be misleading—especially with mini splits. Traditionally, installing any split system required vacuum pumps, nitrogen, flaring tools, and refrigerant charging, which is beyond most homeowners’ scope.
That’s where pre-charged, quick-connect mini splits come in. Brands like MRCOOL and Zone Air’s 3-zone wall-mount kits (priced around $4,100 to $5,600) offer linesets pre-filled with refrigerant and simple quick-connect fittings that eliminate vacuuming and refrigerant charging.

- These quick-connect linesets can be detached and reattached without contamination.
- They simplify the process but still require some precise work, particularly electrical and wall penetrations.
- Be wary of products that call a complex install “DIY” just because a homeowner can, in theory, turn a screwdriver—flaring and vacuuming remain beyond typical DIY.
True DIY is possible with these pre-charged kits; however, the physical work and technical knowledge mean you should prepare adequately or get help for certain steps. More on that below.
3-Zone System Sizing and BTU Planning by Room
Ask yourself this: before you even open the box, it’s crucial to size your 3-zone mini split correctly. Each indoor head (zone) must be properly matched to the room’s size and heating/cooling load. Here’s a general rule of thumb based on my field experience:
Room Size (sq. ft.) Recommended BTU per Zone Up to 250 6,000 – 9,000 BTU 250 - 400 9,000 – 12,000 BTU 400 - 600 12,000 – 15,000 BTUFor a 3-zone system, you’ll likely see total tonnage between 24,000 BTU (2 tons) to 36,000 BTU (3 tons), divided across your zones.
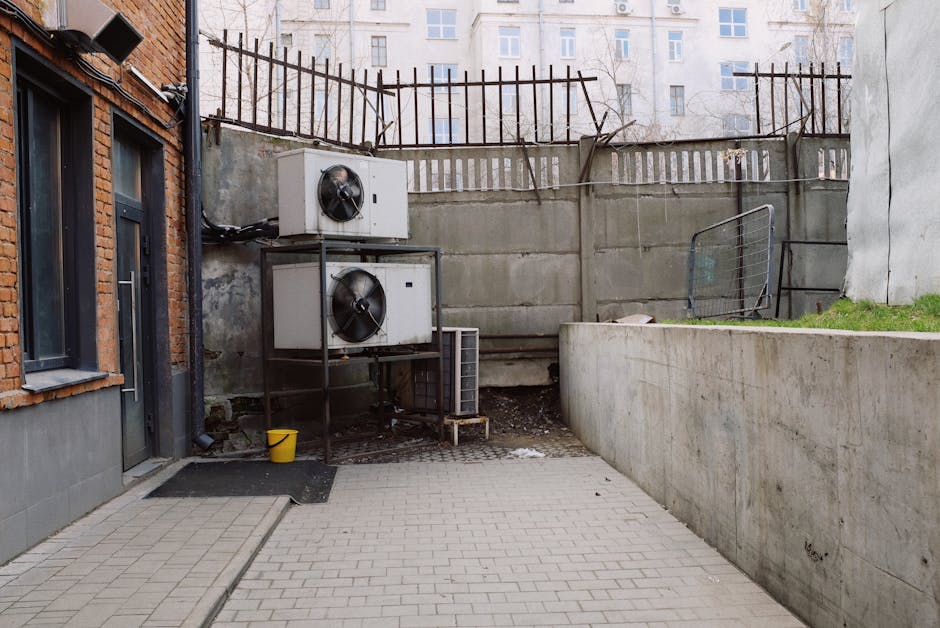
Take this planning seriously. Undersized heads struggle to heat efficiently; oversized heads short-cycle and waste energy. Also, closer rooms with higher ceilings or large windows may need more BTUs.
Electrical Reality: 115V vs 230V and Electrician Costs
This is where many DIYers trip up. Most single-zone mini splits run on standard 115V circuits, but 3-zone systems typically need 230V service. Why?
- 3-zone outdoor units draw more power—often ranging from 100 to 170 lbs in weight and significant amperage.
- Depending on capacity, a dedicated 30-40 amp double-pole breaker is necessary.
- Running new 230V wiring and installing breakers is often beyond standard homeowner permits.
While DIY wiring under certain circumstances might be legal in some states, most recommend at least consulting or hiring a licensed electrician.
Electrician costs for these projects run $300 to $700, but that ensures proper permits—and in turn, protects your home's resale value. Keep in mind that some mini splits must be connected per manufacturer instructions to maintain warranty validity. Skipping the permit and pro installation can void massive parts of your warranty.
Physical Demands: Outdoor Unit Weight, Mounting Pad Setup, Ladder Work
The physical side of installing a 3-zone mini split is another reason “safer two person install” is my mantra for projects this size.
Outdoor Unit
- Outdoor condenser units for 3 zones usually weigh between 100 and 170 lbs.
- Moving and positioning the condenser requires two people for safety and to avoid injury.
- You'll need to set the unit on a level, firm mounting pad (concrete or composite) to prevent settling or vibration transfer.
Hole Making: Drill with Hole Saw / 3 Inch Core Bit
- Running lines between indoor heads and outdoor unit means drilling through exterior walls.
- A drill with a 3-inch hole saw or core bit will make clean penetrations for lineset bundles.
- The holes need to be sloped slightly downward on the outside to prevent water ingress.
Ladder Work for Indoor Heads
- Mounting three indoor units often involves ladder work for higher wall placement.
- Balancing tools like a level and safely managing power tools while on a ladder requires steady hands and sometimes additional help.
- Miscalculating room placement or exact mounting height can lead to needing extra patch work later.
Cold Climate Heating Performance (-13°F vs ~5°F)
If you live in a cold climate, checking rated heating https://tessatopmaid.com/can-i-plug-a-115v-outdoor-unit-into-a-regular-outlet-safely/ performance is key. Many mini-splits are rated to operate effectively down to around 5°F, but some cold-climate units from brands like the Zone Air line or specialized Pioneer models provide specs for heating down to -13°F or lower.
This makes a huge difference if you want to rely fully on mini splits for heating without ugly or expensive backup systems. Proper sizing and selecting a unit with high HSPF2 ratings (the efficiency metric for heating) ensure you get cozy even on the coldest days.
Your Checklist for a 3-Zone Mini Split Install
- Confirm room sizes and calculate BTUs per zone to select the right 3-zone system.
- Choose a pre-charged quick-connect kit from Zone Air, MRCOOL, or Pioneer for true DIY capability.
- Plan electrical service—expect 230V service, dedicated breaker, permits, and electrician involvement.
- Gather tools: drill with 3 inch hole saw/core bit, level, wrench set, and ladder(s).
- Arrange for at least two people for outdoor unit lifting and indoor head mounting—avoid injury.
- Prepare a level mounting pad (concrete or approved surface) for the condenser.
- Double-check cold climate performance specs if relevant—expect heating down to at least 5°F, ideally -13°F.
- Secure electrical permits and verify wiring complies with local codes to avoid warranty and resale headaches.
- Follow manufacturer instructions for all steps to keep warranties intact.
Final Thoughts
While it’s tempting to tackle a 3-zone mini split install solo, the safest and most effective approach blends DIY effort with help—especially mechanical and electrical expertise. (note to self: check this later). Pre-charged kits have dramatically lowered the refrigeration barrier, but the heavy lifting, electrical reality, and precision work reward a two-person install, not just for safety but quality and longevity.
Stick with reputable brands like Zone Air (their 3-zone wall-mount kits run about $4,100 to $5,600), MRCOOL, or Pioneer and honor the electrical permits and sizing guidance. This way, you’ll end up with a system that performs well, lasts long, and keeps everyone comfortable through all seasons.
Ready to plan your install? Don’t skip the prep checklist—and remember: a safer two person install is always worth the effort.